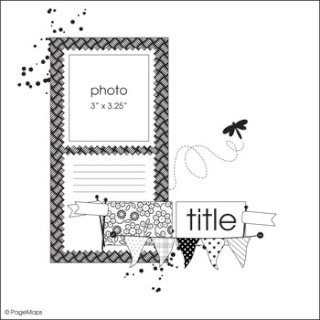
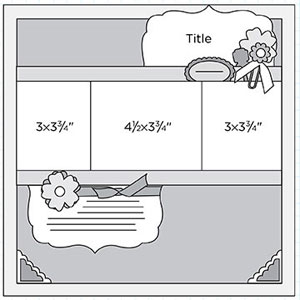
Welcome to my blog!

The purpose of this blog is to explore my development of scrapbooking techniques. I will also provide reviews of products when I find something great or something terrible, and will show off all the work I enter in challenges and contests. Please check out my Welcome note if this is your first visit.

Feel free to ask questions about any of the materials or techniques shown here!

Please leave a comment and let me know what you think, or follow my blog so you can keep updated!

Happy Scrapping!


Showing posts with label SYAO. Show all posts

Saturday, May 5, 2012

SYAO14, 2SF Paper Piecing and Frosted Designs NSD Challenge #1

Keepin' on keepin' on over at Paper Secrets, with this week's Scrap Your Ass Off challenge:


PRODUCTS
fabric or felt
ribbon/twine
flags & or pennants
3+ flowers
Re-cycled item such as packaging or ?
3+ patterned papers
stick pins
metal embellishment/hardware


TECHNIQUES
punches (border/corner)
acrylic paint (stamped-brushed-stencil-etc. ...your choice of application)
distressing
embossing (dry or heat)


Since this sketch was so simple, I decided to combine it with the Frosted Designs National Scrapbook Day Challenge #1 - to use only patterned papers. I also added the Paper Piecing challenge for NSD from Two Scrapbook Friends.

This is what I came up with:


I used all patterned papers except for the paper pieced tractor, so I hope that counts!!
For Paper Secrets, I used fabric, twine, 3 pp, metal, pennants, and distressing as a technique.

Supplies:
Paper: Cosmo Cricket, DCWV
Brads: Recollections
Twine: Jillibean Soup
Pennants: Punky sprouts


Wednesday, May 2, 2012

Momenta & SYAO13

I'm still working on the Scrap Your Ass Off Challenge at Paper Secrets. Its a last-woman standing competition, and I am still hanging in on week 13. Yet to figure out how I am going to stay in it while on vacation, but I'll figure it out :)

This weeks challenge:


PRODUCTS (pick 4)
fabric or felt
ribbon
photo corners/anchors
3+ flowers
chip-board
3+ patterned papers
transparency
metal embellishment/hardware


TECHNIQUES (pick 1)
punches (border/corner)
acrylic paint (stamped-brushed-stencil...your choice of application)
distressing
embossing (dry or heat)


I liked this sketch right away.... it uses more than one photo! I gotta be honest, I may die in this SYAO challenge not because I can't get the page done, but because most of them are one-photo sketches and I have about exhausted all my single photo page layouts I have for all the albums I'm working on... guess I'm going to have to start getting creative :)

What I came up with this week:


See how I snuck in that extra photo as the title? I love taking photos of the signs of places we visit. I always try to take a photo of the sign first It serves many functions:
  1. Make sure you actually remember where those photos were taken
  2. Breaks up the photos in your files easily and simply
  3. Gives you the right spelling
  4. Gives you the option of using a sign for a title! I do this quite a lot, but not always.
I also try to take photos of wordy signs when I want to remember all about something, and then I can use those as journalling. Likewise, keeping all the pamphlets is helpful in case you want to add something special to your page! I have something top secret planned for all my Hawaii pamphlets that I hope to reveal soon!!

How did I do on the challenge? Well, I used: fabric for the two flowers, ribbon, 3 flowers, a transparency (on the middle photo), 3 patterned papers and chipboard buttons. My technique was heat embossing, which I did using a Momenta stencil GS-165 to make the hibiscus flower. I also used Festive Berries and Wild Honey distress ink, and clear embossing powder.

Other supplies:
Momenta Endless Summer Paper Pack PA-1108
Momenta Vacation Pyramid Pack PA-2389
Creative Memories transparent sticker and journalling card
Precocious Paper flowers and ribbon

Thursday, April 19, 2012

SYAO 10 and SYAO 11 - two very different examples of my talent lol

I'm still in it to win it over at Paper Secrets, and here is what I created for weeks 10 and 11.

SYAO10


doily
twine
stick pin(s)
3+ flowers
chip-board
washi tape
3+ patterned papers
bling

TECHNIQUES
punches (border/corner)
acyrlic paint (stamped-brushed-stencil...your choice of application)
distressing

I've actually already used this sketch once, which threw me off a bit...  But I recovered at the last minute and got back in the game. I knew I didn't want both pages to look like they were from the same sketch, so I planned to make some modifications, maybe turn it, and then this happened (lol!)


See it? My itty bitty bit of bling on the metal tag :)


I swear this bow looked better IRL... grr

I know. Its totally the same sketch. But it will be far enough apart in the album that no one will notice (I hope!)


All the papers are Momenta from the Seasons and Occasions pack (PA-1992), the black and white cardstock pack (PA-2390), and a photo mat pack. Stick pins are made by me for the one in the middle, and Maya Road for the green leafies. The metal tag is Making Memories and the chipboard is Cosmo Cricket. The circle tags are Colorbok. I used a Tim Holtz mask and Jenni Bowlin Weathered Wood paint dauber to do the edges and the clock.

So how did I do on the challenge? I used twine, stick pins, chipboard, and bling, and used acrytic paint as my technique.

SYAO11


PRODUCTS
2 or more tags
twine
stick pin(s)
3+ flowers
chip-board
washi tape
3+ patterned papers
metal/foil type embellie(s)


TECHNIQUES
punches (border/corner)
acyrlic paint (stamped-brushed-stencil...your choice of application)
distressing
embossing (dry or heat)
What a crazy sketch! I mean, really... what was I gonna do with that! Surprisingly it turned out FABULOUS...


I love using hand writing!!

Love my new embossing folders matched with Distress ink.. how cool do those two pieces look?
Aren't you surprised? I know, the sketch is barely recognizable (which is sort of how I wanted it) and I cheated all over the place (of course).. and as I'm typing this I just realized that waves sticker at the bottom right of the photo moved itself and is upsidedown!! How did that happen?? Grr... Stupid non-sticky stickers. Anyways it should be right side up and nice and linearly placed like the sun sticker on the opposite corner!

My supplies? Well... this is a Momenta layout for sure: the solids in green and orange that were embossed are from PA-1033 the vibrant cardstock pack. The two blue strips plus the yellowy orangey background page are from the Travel pyramid pack PA-2389,  and finally the circly paper is from the Endless Summer collection PA-1108.  Also Momenta is the "Welcome to Paradise" sticker and the stripey tag from ST-4952 the vacation multi pack of stickers.

Then I added twine from the Twinery, random stickers and die cuts, a ship's wheel from the bead section, some ric rak (I love that stuff) and distress inks in Evergreen, Peeled Paint and Spiced Marmalade. The embossing folders are both Tim Holtz (in case y'all didn't already know!) Oh and also an eyelet from a random bag of eyelets I found in my scrap room, and the big orange eyelet type thing from We R MK.

So I used: 2 tags, twine, patterned papers, metals and embossing.

Hope you enjoy and are inspired to EMBOSS!

Wednesday, April 4, 2012

SYAO8 & SYAO9

Yep... behind again as usual. I always get these in the gallery and Paper Secrets forum on time, but I don't always get them up here, and with things like hops going on... well, I'm sure you know.

BTW - can someone tell me how to make my hop posts stay on top??

SYAO8


doily
twine
stick pin(s)
3+ flowers
rub ons
washi tape
3+ patterned papers
bling

TECHNIQUES
punches (border/corner)
fussy cutting
distressing

Pretty eh? I was sad I had used up all my 5x7 photos so I decided to make it into two photos instead. Love this sketch... file that one for use later!
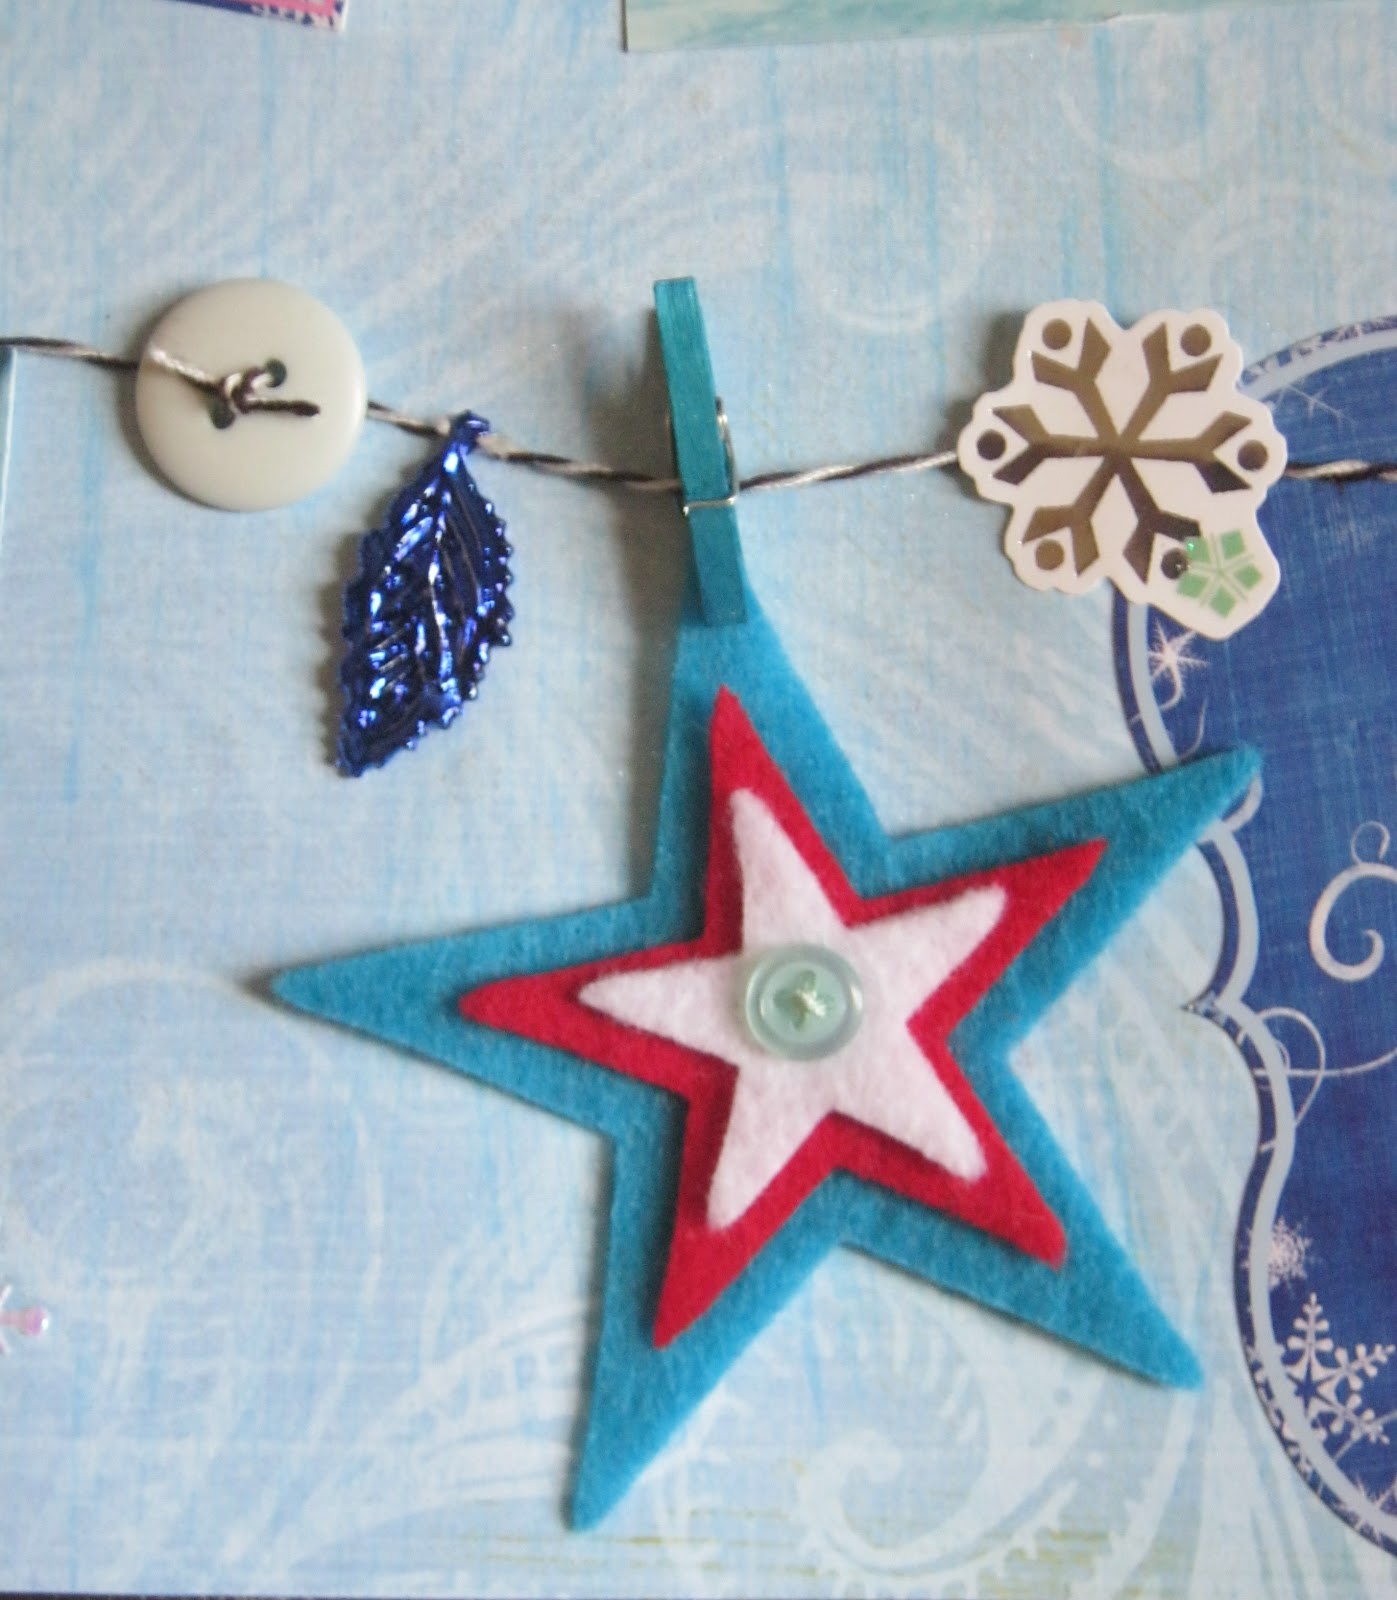
I had to look high and low for just two photos I wanted to use, and finally this is what I came up with.

I used stick pins, flowers, and washi tape.


The black striped cardstock is Momenta from PA-2390, while all the pattered papers are Momenta from the Season's and Occaisions stack PA-1992. The washi tape is Tim Holtz, and the flowers are: Precocious Paper for the rolled rose and the big flower and leaves, Recollections for the medium orange flower other than the black centre, and who knows with the rest. Maya Road stick pins and some Momenta bling from ST-3087 round out the party. The congrats chipboard is from Studio G. 


Here's a close-up of my clusters, I think its the best cluster I've ever made! I love the Precocious Paper flowers soooo much!


I ruffled my washi tape by hand and then stitched down the centre(ish) to make it sit flat and pretty :) 


SYAO9


doily
twine
stick pin(s)
3+ flowers
rub ons
washi tape
3+ patterned papers
bling

TECHNIQUES
punches (border/corner)
fussy cutting
distressing

Hated this sketch. Had no idea what to do with it. I always get thrown when there are weird shapes as the focal points lol! Luckily I had some shaped paper like that shape (does it have a name? I wouldn't even know how to make my Silhouette cut that thing). I really need to buy more shaped paper. It makes my brain work harder :)


This photo is of 3 of my 6 nephews and my hubby's 3 little brothers at our wedding. Its too bad the other 3 nephews weren't up there, because its such a cute photo and its not even posed! The photographer just saw them like that and snapped the photo. They are on the 3rd level of the reception room, looking down on the dance floor etc. It was such a cool venue!!

Paper is Bo Bunny Cambridge for the shape and the green patterened, MME Lost & Found for the background PP, and DCWV Photo Stack 2 for the strip. Also Authentique for the photo mat. Alphas are Creative Memories Rugged, and the fighting lion rub on and the fancy bling-y brad are Bo Bunny Cambridge too :)


This is my ugly twine and button flower I made. Feel free to scraplift or agree with me that its ugly. Ugh. Epic fail lol.

So to fulfill the challenge, I:

distressed

used:
twine
rub-ons
3 patterned papers
and bling? Maybe? I am not sure if that iCandy brad counts as bling or not :)


Tuesday, March 13, 2012

SYAO6

I am having lots of fun in the Scrap Your Ass off competition at Paper Secrets (I just wish the other competitors would drop off faster lol!)

Here is this week's challenge:


Lace/Trim/Ribbon
3+buttons
3+flowers
rubons
3+ photo corners or anchors
bling
staples
3+ patterned papers

TECHNIQUES
stitching (hand-machine or faux)
misting
distressing

One thing I've discovered... I need photo anchors. I have none and am so jealous of the girls who have all these cute ones, polka dots, bright colors... lol

Here is what I came up with flipping and rotating the sketch :)  (and manouvering and changing lol)


I used some 2010 BoBunny here - the Cambridge collection. I really liked it and saw it in a grab bag of old products at Scrapping Turtle so I picked it up... what a steal!!

I used 3 patterened papers - the shape and the two red papers, which are the reverse of each other (how sneaky!)

I also used rub ons for the title, a bunch of buttons, and staples (impossible to see, but trust me, they are there).

For my technique I used my brand new Sew Easy head... isn't it cute??? I was sooo excited!


Here's a close up of the Rub ons. They're from the dollar store, don't buy them. I got more rub on on me than I did on the page. But they did fit the feel.


Here's my stitiching (kinda sketch, but getting there) and a staple (can you see it?)


Thanks for visiting!
~T


Wednesday, February 22, 2012

Paper Secrets SYAO3 - Snooze in the Sun on a Snowy Day

I am having a lot of fun with Scrap Your Ass Off 2 over at Paper Secrets.

Here is week 3's challenge:


ribbon/twine
3+buttons
3+flowers
rubons
3+ photo corners
bling
staples
border punch

TECHNIQUES
stitching
misting
distressing


As usual, use 4 of 8 items and 1 of 3 techniques. This is what I came up with. There truly was no thought process going on, just digging through photos to find one that worked.


The photos suck, but Casper was just so cute sleeping in the window one day. Of course she woke up and had to pose for me even cuter (what a ham) when she realized I had the camera out.

What I used:  3 buttons, twine, rubons, bling, and stitching (behind the photos, kinda tough to see!)

The cardstock is Momenta from PA-1033 (love it!). This stripey one is one of my favs. The photo paper is from DCWV Photo Stack 3! I just got it at Zellers! And I love it as much as my photo stack 2! (If anyone out there has 1 that they don't love... I will pay for shipping, and send you some crap I don't like or some $$$)

I think the rubons are Basic Grey. But I will have to check on that!  (Note: just checked my invoice for them in my email. Basic Grey Max Whiskers Black)

The fish dream bubble and heart collar tag is Momenta from ST-2944, the Shimmer and Shine Cat stickers (love them so much I have two packs!)

And the snowflakes, snowflake buttons, and twine are random. Actually, twine is 90% certain American Crafts..


Here are the flower rub ons. its hard to see the blue blings, but those came with the rub on sheet, pre-stickied and everything! Very cool!


Here's my crazy title... I didn't have small black letters I liked to use with the red letters, and didn't have enough red letters to make the title (it was all the o's).... This is a good way to emphasize the important words in a long title so it doesn't seem so overpowering. You can also see my teeny weeny snowflake button. I love that button lol... I've been waiting for the right spot to put it for so long. Now I want more (again... mail for trade or $$)

Anywho... thats enough chatting today! Happy Wednesday!


Thursday, February 16, 2012

Paper Secrets SYAO2 - With this Ring

Here is the sketch and lists for Paper Secrets Scrap Your Ass off Week 2. Again, I had to use 4 of the 8 items and 1 of the 3 techniques.


ribbon/twine
3+buttons
3+flowers
rubons
3+ photo corners
3+brads
staples
border punch

TECHNIQUES
stamping
misting
distressing

Right away I knew which photo to use - I have been keeping this photo of our wedding bands and my engagement ring on my scrapping table for a while looking for the right sketch to use with it.


I used ribbon, rub ons, brads and my border punch. My technique again was misting. I really love mists lol, even though I only have 3 of them! The patterned papers, striped ribbon, chipboard and "promise" sticker are all Cosmo Cricket Everafter. 


Here's a closeup of the Everafter sticker, chipboard, two of the 5 brads used, and my Deja Views transparency sticker (love those!)


For the ribbon, I actually layered the Cosmo Cricket ribbon on top of a wide grosgain(I think) that I picked up from that ribbon section at Michaels with all the generic stuff. I pinned into the folds I wanted then stitched down the centre using the thread that was used to alter my dress (sneaky!)


This is the rub on. Its from some cheapie dollar store pack... but I really can't resist rub-ons. You can also see a bit of the inking I did. I used DIs Spiced Marmalade and Walnut Stain, with a thicker application of the SM and just edging in the WS.

Hope you enjoy... and most of all, are inspired!

Tuesday, February 7, 2012

Paper Secrets Scrap Your Ass Off 2 - Round 1

I have joined this crazy competition over at Paper Secrets! Its last-woman-standing style, and each week we get a different challenge that we have to complete in a week. If you miss a week.... you're out!

So here we go with week 1...

Complete a layout based on the following sketch provided by PageMaps. You must also use 4 of the 8 products listed and 1 of the TECHNIQUES You have 7 days to complete your layout & upload it to our gallery to move on to the next challenge.
Be sure to upload your layout to your personal album & use the keyword "SYAO1"
Your layout MUST be posted in the Gallery album by 11:59 PST on 2/7 to go on to the next round
ribbon/twine
3+buttons
3+flowers
rubons
3+ photo corners
3+brads
staples
altered or raw chipboard/cardboard

TECHNIQUES
stamping
misting
dry or heat embossing


OK - I have to confess, I love this sketch but had a really hard time finding a use for it and ended up not doing one when PageMaps released it the first time around... but I couldn't drop out first round so I had to get it figured out this time... and I am glad I did. It was a lot of fun!


I ended up following the sketch fairly closely. I really liked the "clothesline" look, so that was what I wanted to stay with. These photos are of me and mom in 1990, skating on an area that used to fill with water and ice over every year next to the house. Stickers are Momenta.

The four elements I used were:
3 brads
4 buttons
altered chipboard letters
twine

The techique I used was misting. Its hard to tell unless you know what that Fancy Pants paper looked like beforehand - I used Perfect Pearls so its a little shinier and there are white dots all over as "snow", but I misted very lightly so the background paper would still shine on through :)


 Here is my altered chipboard title. Those letters are "blue foil" so I sprayed them with more Perfect Pearls mist and then used a heat gun to make it set, giving them the white spotty "snowy" look.


 This element is from Precocious Paper. I really like her elements; you will see me using a lot more as I got a huge package full right after Christmas!


This is my brown American Crafts twine with a Recollections brad. I used my glue pen (the blue stuff) to draw out where I wanted the twine to go then stuck it in really fast before the glue switched to repositionable. It is a really easy way I just discovered to do fancy things with twine.

Thanks for visiting!! I am travelling like crazy for work right now so hopefully I will get more time to scrap!