
Monday: Inspinration - The Craftiness in Me - Van Je Veel - Boutique Birdie - Tory Frail Designs
Tuesday: Wining Wife - Keep Calm and Carrion - Moon Star - Circle Meets Line - Amazing Adventures with Buba and Bug
Wednesday: Manning the Machine - Sugarplum Cuties - House of Estrela - Create 3.5 - Handcrafted by RED
Thursday: Lulu & Celeste - Rebel & Malice - Two Novembers - From a Box - Sprouting JubeJube
Friday: Maryall Made - Phat Quarters - Knot Sew Normal - Sew Happily Ever After - All Things Katy
To celebrate, we are having a fun Anniversary tour of a ton of blogs this week, and we have all made a version of the Summer Surprise top, tunic and dress pattern. This pattern has been re-released to a revision to include layers in the pattern pieces and revise the instructions to the new format you may be familiar with. If you already have the pattern, you can get the update from your account, or, if you got the pattern through Etsy, won it or tested it, email info@sofilantjes.com with proof and you can have the new pattern!

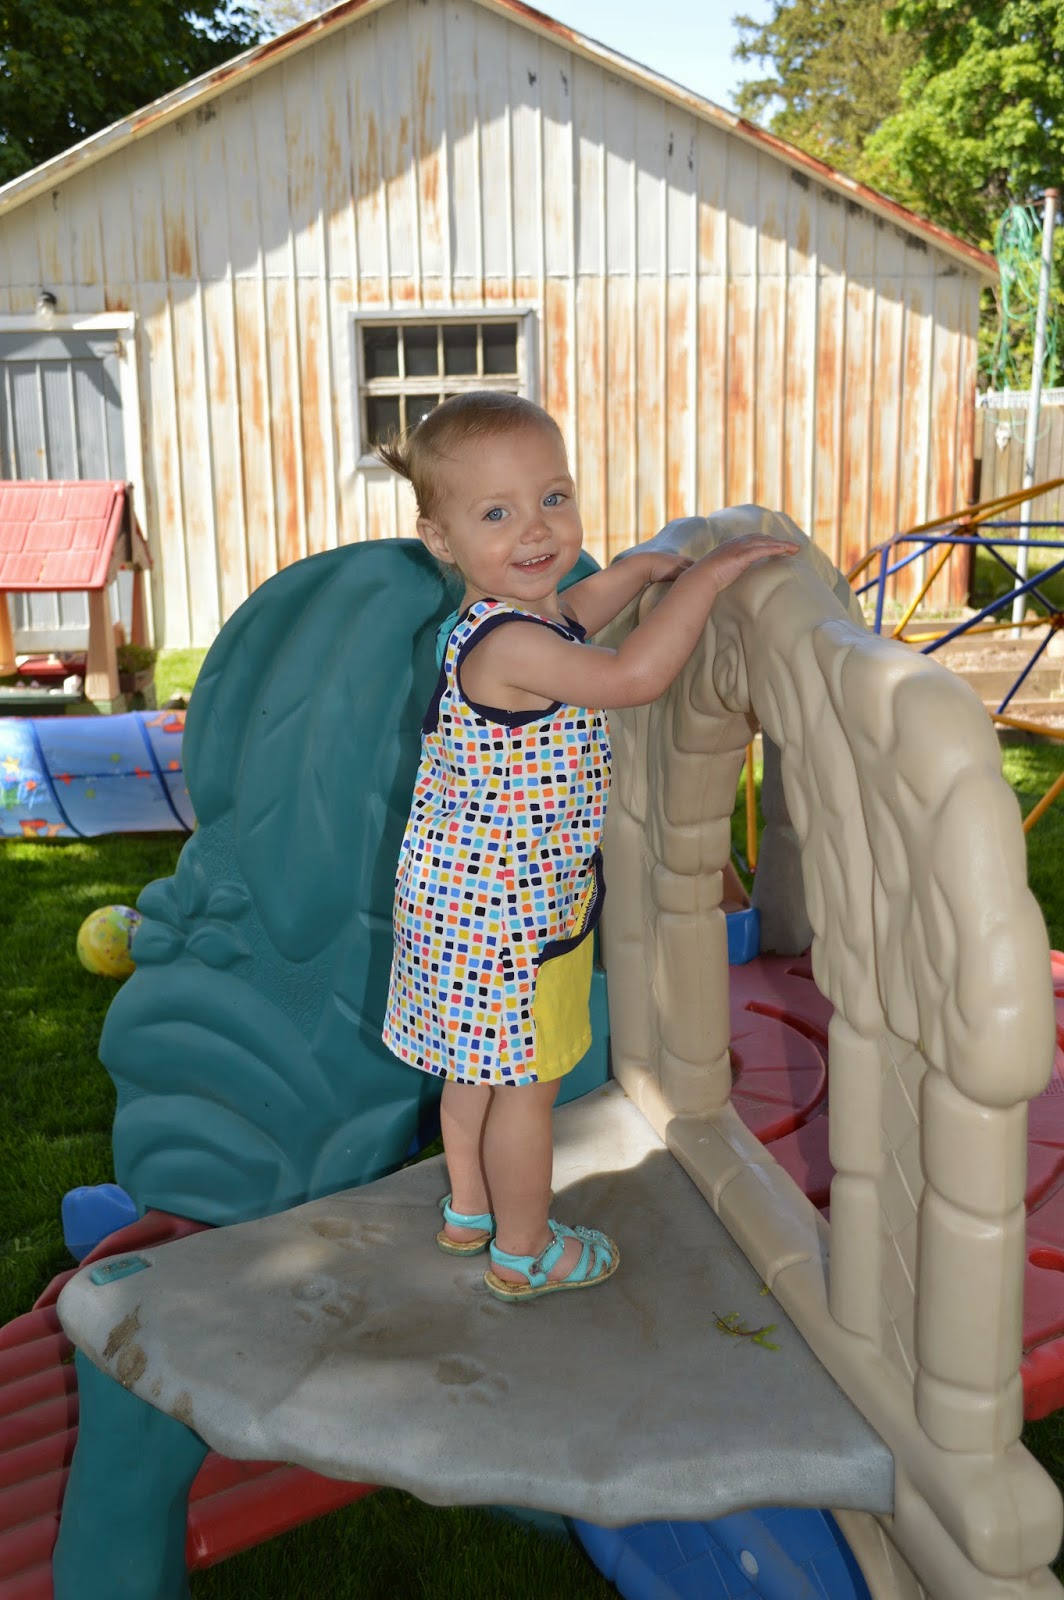
This pattern is super cute and classy. I made the dress for my husband's 30th birthday, and the older girls were eyeing it up even... so definitely buy both size ranges, your daughters won't be disappointed.
 |
| Even good for hanging in a camp chair |

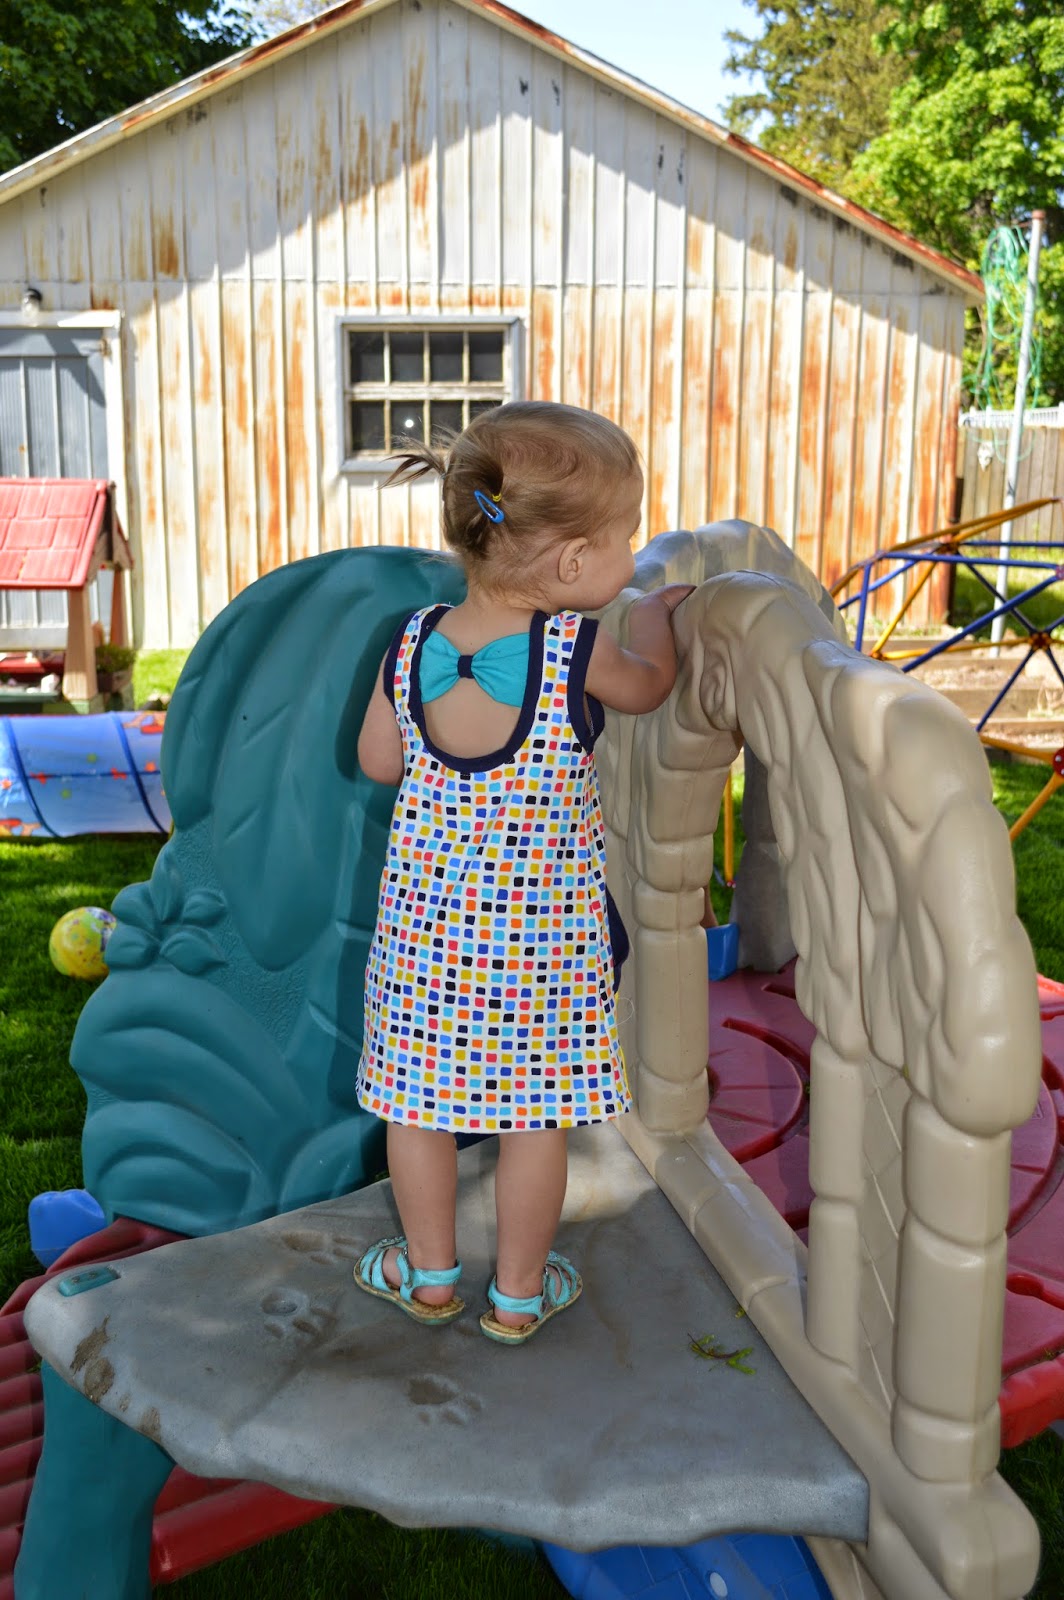
I had thought about bringing the side seam to the front all the way around, but was worried it would bug Izzy's little chest, and of course she couldn't tell me.
I made the 18m top and used the 18-24m pocket as the back skirt matched the width of the back piece of the Summer Surprise dress. I overlaid the front piece onto the pocket piece to match the curve, since the bottom of the Gemini skirt is straight and the Summer Surprise is curved.
 I attached the binding strip as in the instructions, and then just ironed over the top and sides about 3/8" and stitched it on. I basted the bottom of the pocket to the bottom of the dress within the seam allowance to keep it there while I folded and hemmed the bottom. Alternatively you could also serge the bottoms together before hemming.
I really like this pattern because although it looks really fancy and classy, its a super quick sew! The instructions are really well thought out to make the construction simple and to prevent issues like readjusting the bow placement and doing a lot of seam ripping. This is the first time I have tried directly serging binding without stitching it on first, which I did around the arm binding, and wow, does that ever take a lot of time off! So if you're afraid to try it, don't be, its really not that hard!
For this project, I used a 100% polyester knit for the dress itself, which I found at Len's Mill. Unfortunately there were no details on the bolt. The yellow solid is a 100% poly solid from Fabricland I bought a while ago. The navy and turquoise are actually cotton/lycra tank tops from Old Navy that I bought for $3.50! I got the XXL size to make it much easier for me to reuse. A good way for my Canadian friends to get some cotton lycra (95/5) to work with. It is a bit thin and has a ribbed side and a smooth side but it seems so far to have good recovery.
I hope you all like it and are starting to think about how you could alter the Summer Surprise! My next goal is to make up a top for her to wear... but I will be checking out all the other blogs in this tour to see what fun ideas others have come up with that I can possibly steal.
Check out all the fabulous sponsors for this Anniversary tour!! You definitely want to come back every day and visit the other blogs to enter!!

Today's giveaways are as follows:
E+M Patterns, winner's choice
-Izzy & Ivy, winner's choice
-Mandy K Designs, winner's choice
-Paisley Roots, Saffron Twirl
-Rose & Lee Designs, winner's choice
-Aivilo Charlotte, winner's choice
-Funktional Threads, winner's choice
 |
| Run!!! Go! Quickly! Enter to win! The Izzy Monster is after you! |

.JPG)
.JPG)
.JPG)
.JPG)